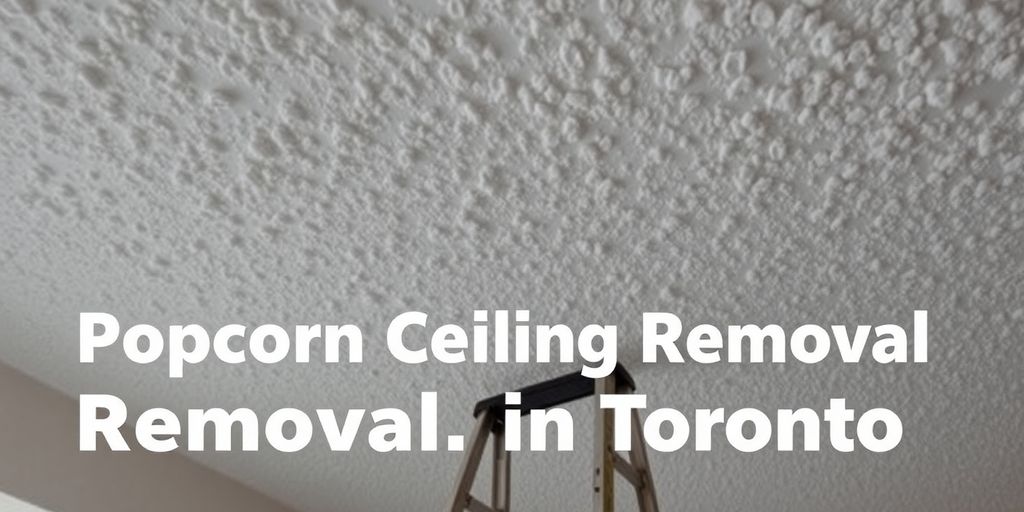
Tim popcorn ceiling removal in totnto
Table of Contents
If you’re living in Toronto and thinking about getting rid of that outdated popcorn ceiling, you’re not alone. Many homeowners are looking to modernize their spaces and improve air quality. Tim popcorn ceiling removal is a popular choice for those wanting a fresh, clean look. This article will guide you through the essentials of removing popcorn ceilings, from preparation to execution, and even when to consider hiring professionals.
Key Takeaways
- Popcorn ceilings can trap dust and allergens, making removal beneficial for health.
- Preparation is key: gather tools, protect your space, and take safety precautions.
- The removal process can be labor-intensive, and challenges like dust and texture may arise.
- After removal, you’ll need to repair the ceiling and consider new finishes or paint.
- Deciding between DIY and hiring professionals depends on your skills, budget, and the extent of the project.
Understanding Tim Popcorn Ceiling Removal
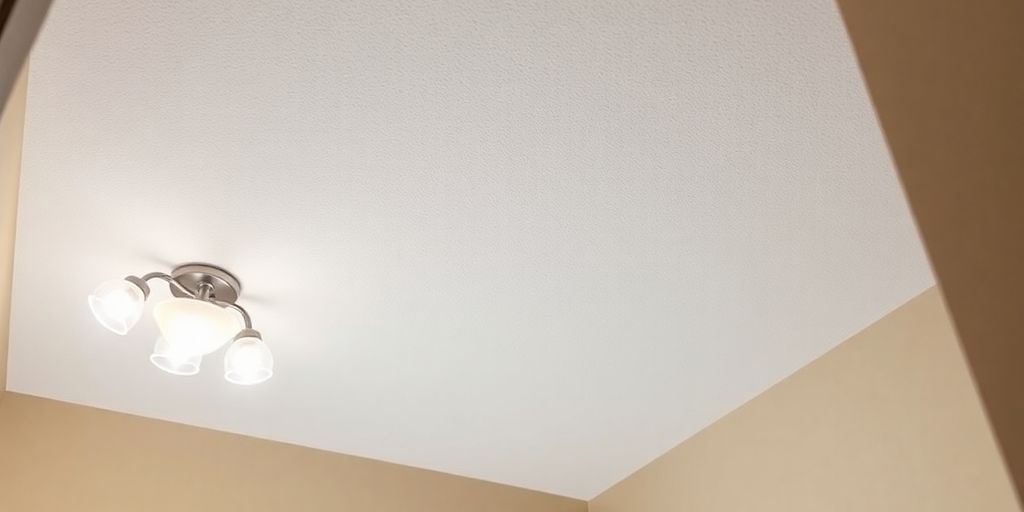
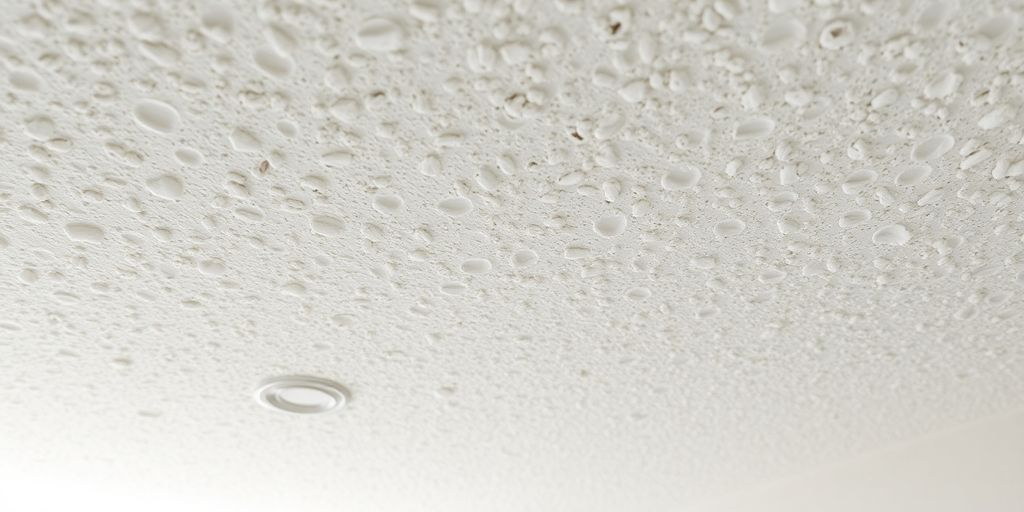
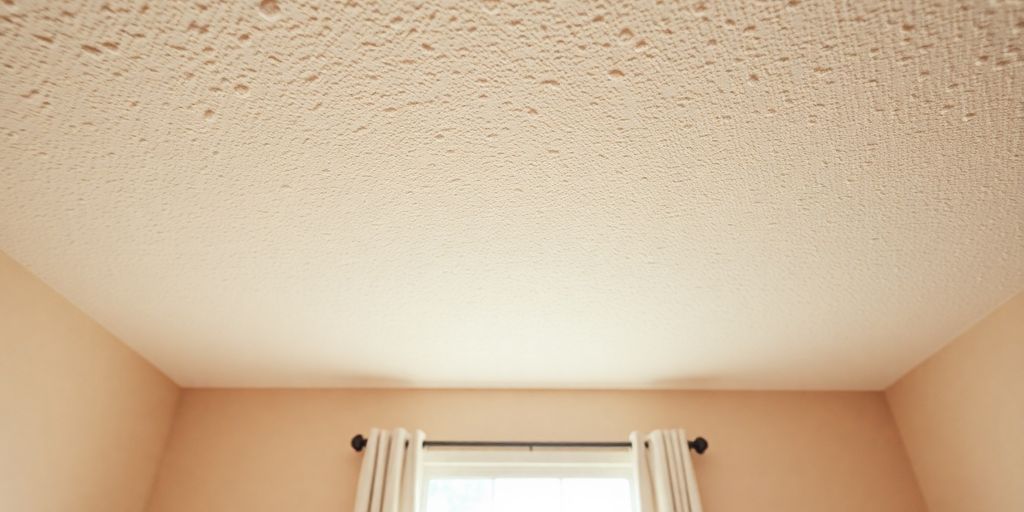
What Is Popcorn Ceiling?
Popcorn ceiling, also known as acoustic ceiling, was a popular choice in homes built from the 1950s through the 1980s. Its textured surface was intended to hide imperfections and dampen sound. However, tastes change, and what was once stylish is now often seen as dated. Plus, there are other issues that make people want to get rid of it. It’s important to understand what it is before considering popcorn ceiling renovation or removal.
Reasons for Removal
There are several reasons why homeowners opt for popcorn ceiling removal vaughan. Here are a few:
- Aesthetic Concerns: Many find the texture visually unappealing and want a more modern, smooth ceiling.
- Home Value: Removing a popcorn ceiling can increase the resale value of a home.
- Maintenance: Popcorn ceilings are difficult to clean and can collect dust and cobwebs.
- Lighting: The texture can cast shadows, making rooms appear darker.
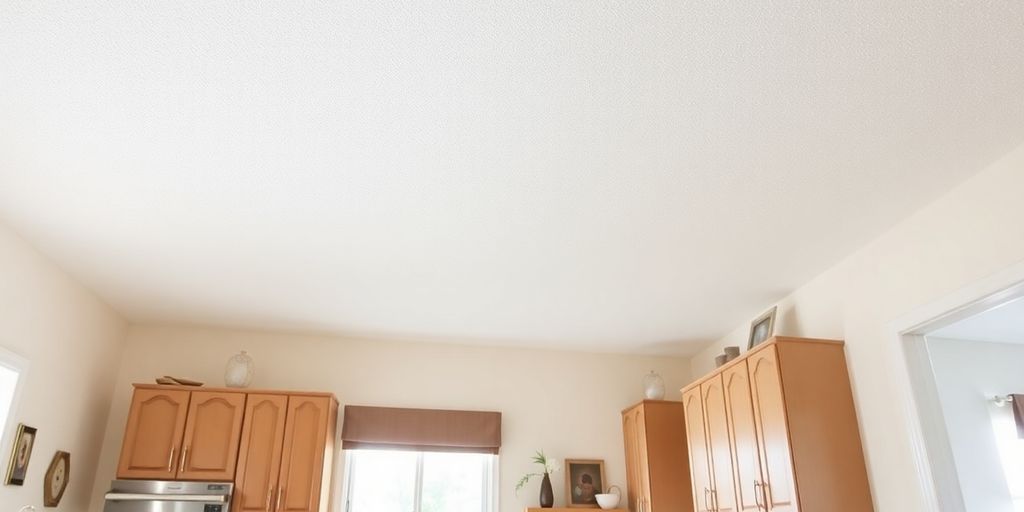
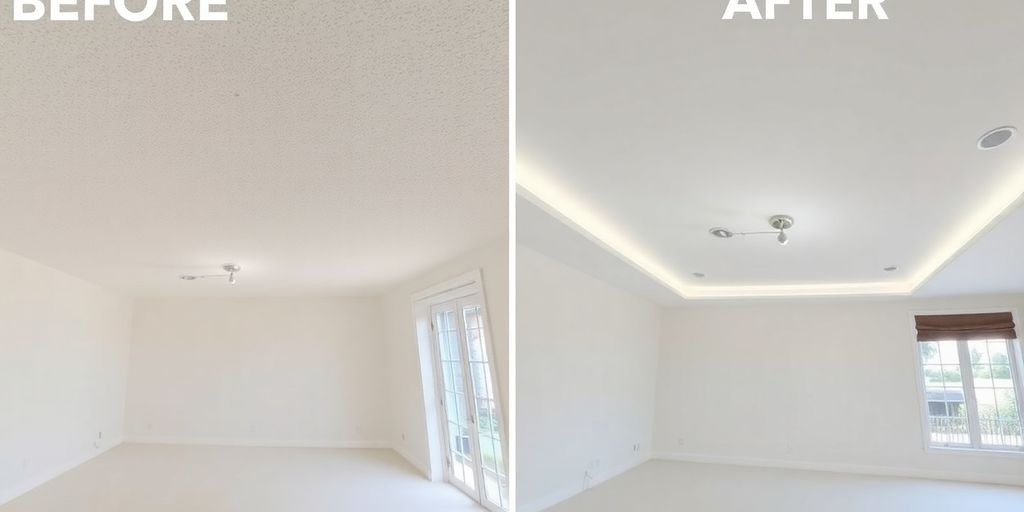
Removing a popcorn ceiling can instantly update the look of a room, making it brighter and more appealing.
Health Concerns Associated with Popcorn Ceilings
One of the biggest concerns with older popcorn ceilings is the potential presence of asbestos. Asbestos was a common component in these ceilings until it was banned in the late 1970s. If your home was built before this time, it’s crucial to have the ceiling tested before undertaking any popcorn ceiling removal oakville. Disturbing asbestos-containing materials can release harmful fibers into the air, posing serious health risks. Even without asbestos, some people worry about dust and allergens trapped in the textured surface. If you suspect asbestos, it’s best to contact professionals specializing in popcorn ceiling removal near me or popcorn ceiling removal markham to ensure safe handling and disposal. Ignoring a wet ceiling toronto can lead to mold and further health issues, compounding the problem.
Preparation for Tim Popcorn Ceiling Removal
Gathering Necessary Tools
Before you even think about scraping, you’ve gotta get your gear together. It’s like prepping for a battle, but instead of swords, you’re wielding scrapers and sprayers. Having everything on hand will save you a ton of time and frustration.
Here’s a basic list:
- Ladder (a sturdy one!)
- Garden sprayer (for wetting the ceiling)
- 6-inch drywall knife or scraper
- Plastic sheeting (lots of it)
- Painter’s tape
- Drop cloths
- Respirator or mask
- Safety glasses
- Garbage bags
Protecting Your Space
This is where the plastic sheeting and painter’s tape come in. Trust me, you do NOT want popcorn ceiling dust all over your stuff. It gets everywhere.
- Clear the room as much as possible. Move furniture out or cover it completely.
- Tape plastic sheeting to the walls, floor, and any remaining furniture. Overlap the seams to prevent dust from sneaking through.
- Seal off doorways with plastic to contain the mess. This is super important!
Taking the time to properly protect your space will save you hours of cleaning later. It’s a pain, but it’s worth it.
Safety Precautions to Consider
Popcorn ceilings, especially older ones, might contain asbestos. If your home was built before the 1980s, it’s a good idea to get the ceiling tested. If asbestos is present, hire professionals for removal.
Even without asbestos, you still need to protect yourself:
- Always wear a respirator or mask to avoid inhaling dust.
- Wear safety glasses to protect your eyes.
- Work in a well-ventilated area. Open windows and use fans.
- Dispose of the removed popcorn ceiling properly, following local regulations.
| Safety Gear | Why It’s Important |
|---|---|
| Respirator/Mask | Prevents inhalation of dust and potential asbestos |
| Safety Glasses | Protects eyes from falling debris |
| Gloves | Keeps hands clean and protected |
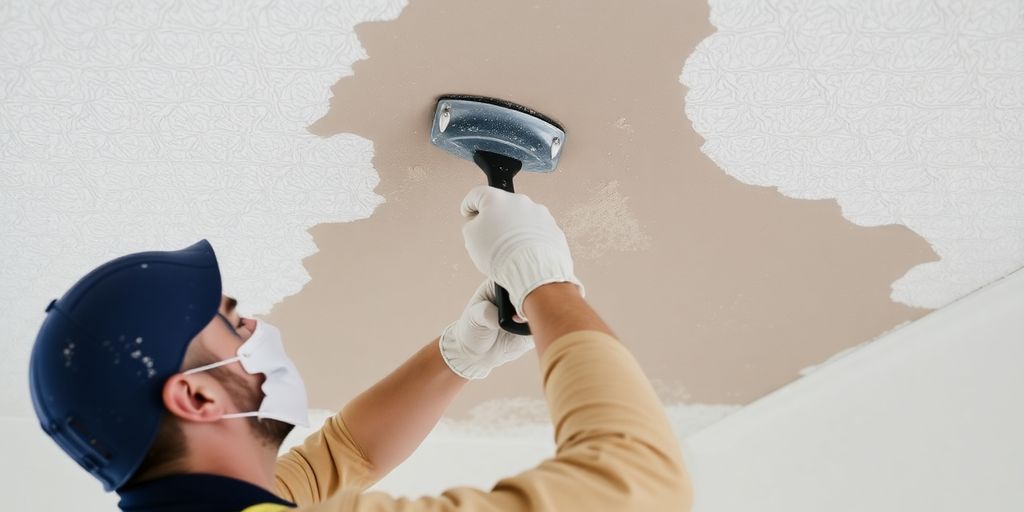
The Tim Popcorn Ceiling Removal Process
Step-by-Step Guide
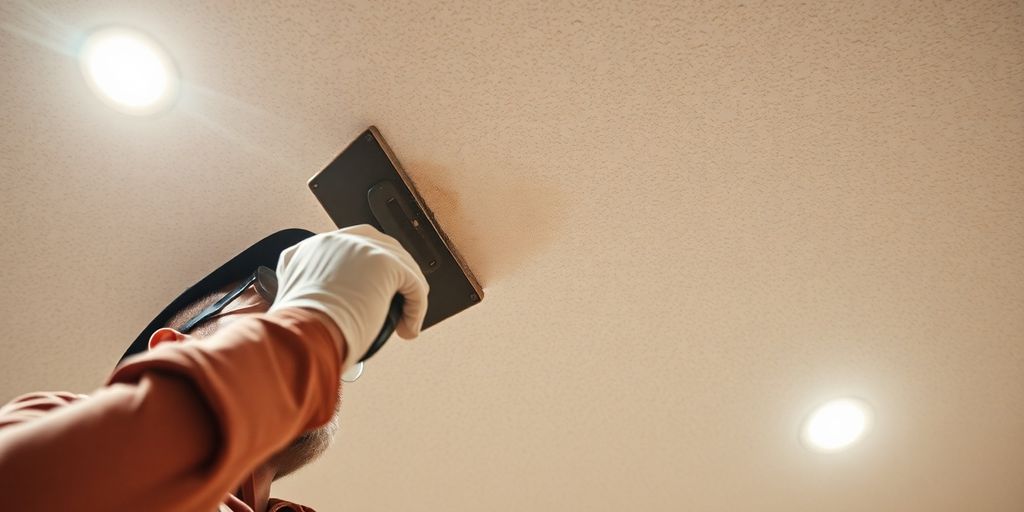
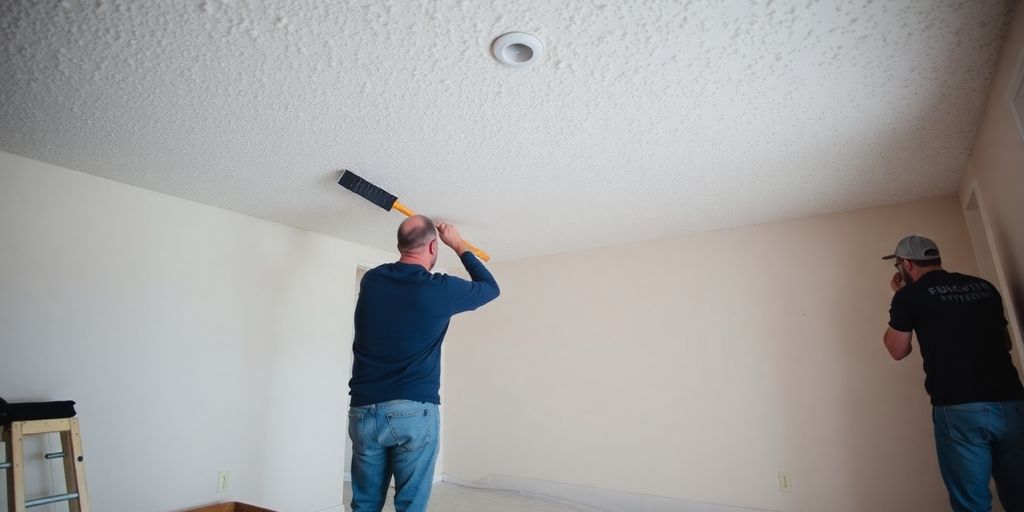
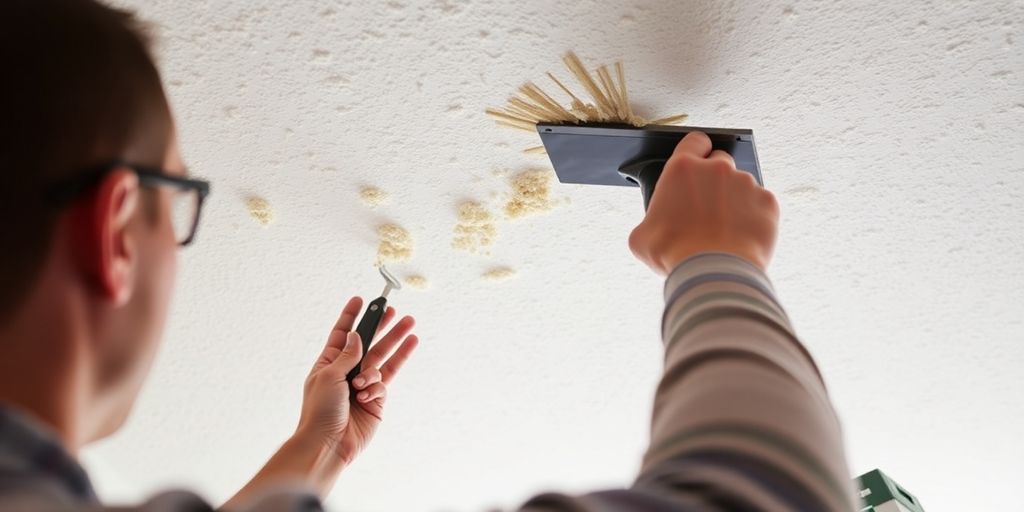
Okay, so you’re ready to tackle that popcorn ceiling. Here’s how I usually do it, step by step. First, and this is super important, thoroughly wet the ceiling with water using a spray bottle. I like to add a little bit of dish soap to the water; it seems to help it soak in better. Let it sit for about 15-20 minutes. Then, using a wide putty knife, gently scrape off the softened texture. You’ll want to hold the knife at a slight angle to avoid gouging the drywall underneath. Keep a bucket handy to catch the falling debris. Repeat the wetting and scraping process until all the popcorn texture is gone. It’s tedious, but patience is key! Finally, let the ceiling dry completely before moving on to any repairs.
Common Challenges
Oh boy, where do I even start? One of the biggest headaches is dealing with ceilings that have been painted over. The paint seals the popcorn texture, making it much harder for water to penetrate. In these cases, you might need to score the surface with a utility knife before wetting it. Another common issue is damaging the drywall underneath. It’s almost inevitable that you’ll create some nicks and scratches, so be prepared to do some patching later. And let’s not forget the mess! Popcorn ceiling removal is a seriously dirty job. Make sure you have plenty of drop cloths and a good vacuum cleaner on hand. Also, if your home was built before the 1980s, there’s a chance the popcorn ceiling contains asbestos. If you suspect this, get it tested before you start any work!
Tips for Effective Removal
Alright, here are a few things I’ve learned over the years that can make the process smoother:
- Use warm water. It seems to soften the texture faster than cold water.
- Don’t soak the ceiling too much at once. Work in small sections to prevent the water from drying out before you can scrape it.
- Keep your putty knife clean. Dried popcorn texture can build up on the blade and make it harder to scrape.
- Consider renting a texture scraper. These tools are designed specifically for removing popcorn ceilings and can save you a lot of time and effort.
If you’re dealing with a large area, it might be worth investing in a powered texture scraper. These tools can significantly speed up the removal process, but they also require some skill to operate without damaging the drywall. Also, make sure you have good ventilation, as the dust can be irritating.
Post-Removal Considerations
Repairing the Ceiling
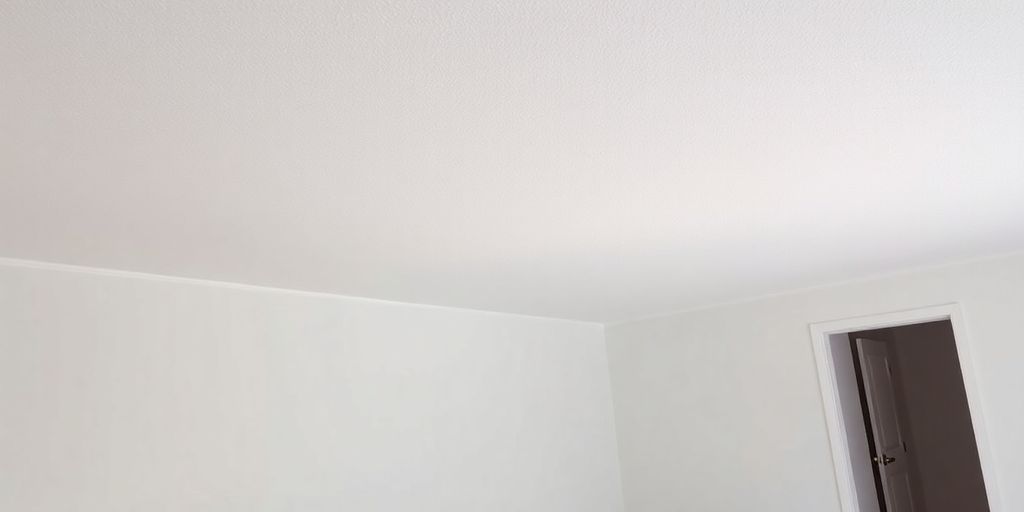
Once you remove popcorn on ceiling in toronto, you’re likely to find imperfections. This is where the real work begins. Patching holes, smoothing out uneven surfaces, and addressing any damage caused during the removal process are essential. You might need to apply joint compound in several layers, sanding between each coat, to achieve a perfectly smooth surface. It’s a bit tedious, but the results are worth it. I had a few spots where the drywall paper tore, and those took extra care to fix. Don’t rush this step; a well-repaired ceiling is key to a professional-looking finish.
Choosing a New Finish
With the popcorn gone and the ceiling repaired, it’s time to think about the new finish. There are so many options! You could go for a simple, smooth finish, which is what I did. Or, you might consider adding a subtle texture for visual interest. Some popular choices include:
- Smooth finish (classic and clean)
- Orange peel texture (subtle and hides imperfections)
- Knockdown texture (more pronounced, adds character)
- Skip-trowel texture (rustic and unique)
The type of finish you choose will depend on your personal style and the overall aesthetic of your room. I spent ages looking at different textures online before deciding on smooth. It really makes the room feel bigger and brighter.
Painting and Decorating Options
Finally, the fun part – painting and decorating! A fresh coat of paint can completely transform the look of your ceiling. I recommend using a high-quality ceiling paint with a matte finish to minimize imperfections and reduce glare. Consider the color carefully; lighter colors will make the room feel more spacious, while darker colors can create a cozy atmosphere.
After painting, think about other decorative elements that can enhance your ceiling. Crown molding, decorative medallions, and interesting light fixtures can all add character and style. I added some simple crown molding to my living room, and it made a huge difference. It’s amazing how much a well-decorated ceiling can contribute to the overall look and feel of a room.
Hiring Professionals for Tim Popcorn Ceiling Removal
When to Consider Hiring Help
Let’s be real, Stucco & popcorn ceiling removal can be a beast. While DIY might seem tempting, there are definitely times when calling in the pros is the smarter move. If you’re dealing with a huge area, have any concerns about asbestos, or simply don’t have the time or energy, it’s probably best to get some help. Plus, if you’re not confident in your toronto gypsum repair skills, you could end up making the problem worse.
What to Look for in a Contractor
Finding the right contractor is key. You want someone experienced, reliable, and insured. Start by checking online for popcorn ceiling removal companies and reading reviews. Don’t just go with the cheapest option – look for someone with a solid reputation and plenty of positive feedback. Make sure they’re upfront about their process, materials, and timeline. Ask about their experience with ceiling cleaning toronto and ceiling water damage repair toronto, just in case you need those services too.
Cost Estimates and Budgeting
Okay, let’s talk money. The asbestos removal cost can vary quite a bit depending on the size of the job, the complexity, and where you live. Get several quotes from different contractors before making a decision. Be sure to ask for a detailed breakdown of the costs, including labor, materials, and any potential hidden fees. Remember, it’s better to pay a bit more for quality work than to end up with a botched job that costs even more to fix later. When budgeting, factor in not just the removal itself, but also any necessary repairs, priming, and painting.
Here’s a simple table to give you a rough idea:
| Service | Average Cost (per sq ft) |
|---|---|
| Popcorn Ceiling Removal | $2 – $5 |
| Asbestos Testing | $250 – $750 |
| Ceiling Repair (after removal) | $1 – $3 |
It’s important to remember that these are just estimates. The actual cost will depend on your specific situation. Always get a professional quote for an accurate assessment.
Here are some things to consider when looking for who removes popcorn ceilings near me:
- Check online directories and review sites.
- Ask for recommendations from friends, family, or neighbors.
- Verify licenses and insurance.
- Read customer reviews and testimonials.
DIY vs. Professional Tim Popcorn Ceiling Removal
Pros and Cons of DIY
Okay, so you’re thinking about tackling that popcorn ceiling yourself? It’s doable, but let’s be real about what you’re getting into. On the plus side, you’ll save a chunk of change on labor costs. The cost to remove popcorn ceiling professionally can be significant, and doing it yourself definitely cuts that down. You’re in control of the whole process, from start to finish. However, DIY comes with its own set of headaches.
- It’s messy. Seriously messy. Prepare for dust and debris everywhere.
- It’s time-consuming. What looks like a weekend project can easily stretch into a week, or more.
- There’s a learning curve. You might not get perfect results the first time, and you could end up damaging your ceiling if you’re not careful.
DIY popcorn ceiling removal can be rewarding, but it demands patience, physical effort, and a willingness to learn as you go. If you’re not prepared for the challenges, it might be better to call in the pros.
Benefits of Professional Services
Hiring a professional for popcorn ceiling removal has some serious advantages. First off, they have the experience and the right tools to get the job done quickly and efficiently. They also know how to handle potential problems, like asbestos, safely. Professionals will also handle the cleanup, which is a huge plus. You won’t have to spend days scrubbing dust off every surface in your house. Plus, they can often offer additional services, like texture application or painting, to give your ceiling a fresh, new look. And if you need Drywall Repair Services, they can handle that too.
Making the Right Choice for Your Home
So, how do you decide whether to DIY or hire a pro? Consider these factors:
- Your budget: DIY is cheaper upfront, but professional services might save you money in the long run if you avoid costly mistakes.
- Your skill level: Are you comfortable with home improvement projects? Do you have the necessary tools?
- Your time: Can you dedicate the time and effort required for DIY removal?
Ultimately, the best choice depends on your individual circumstances. If you’re on a tight budget and have the skills and time, DIY might be the way to go. But if you want a hassle-free experience and professional results, hiring a contractor is probably worth the investment. Consider getting quotes from a few different contractors to compare prices and services.
Maintaining a Smooth Ceiling After Removal
Regular Maintenance Tips
Once you’ve gone through the textured ceiling removal process, keeping your ceiling looking great is all about consistent, simple maintenance. Here’s what I’ve found works:
- Dust regularly: Use a soft brush attachment on your vacuum to gently remove dust and cobwebs. Do this at least monthly.
- Spot clean carefully: For small marks, a slightly damp sponge can do wonders. Be gentle, and avoid scrubbing too hard.
- Inspect periodically: Keep an eye out for any new cracks or signs of water ceiling damage repair that might need attention.
Dealing with Cracks and Imperfections
Even with the best textured ceiling removal job, small cracks can appear over time. Don’t panic! Here’s how I usually handle them:
- Clean the area: Remove any loose debris from the crack.
- Apply joint compound: Use a small amount of joint compound to fill the crack.
- Sand smooth: Once dry, lightly sand the area until it’s smooth and even with the rest of the ceiling.
- Prime and paint: Apply primer and then paint to match the existing ceiling color.
Long-Term Care for Your Ceiling
The key to a long-lasting, smooth ceiling is proactive care. Here are some tips I’ve learned over the years:
- Control humidity: Excessive moisture can cause problems. Make sure your bathroom and kitchen are well-ventilated.
- Address leaks promptly: Any signs of water damage should be dealt with immediately to prevent further issues.
- Consider a sealant: Applying a sealant can help protect your ceiling from stains and moisture.
After removing a stucco ceiling, I learned that regular maintenance is much easier than dealing with major repairs down the road. A little bit of effort goes a long way in keeping your ceiling looking its best.
Final Thoughts on Removing Popcorn Ceilings in Toronto
So, there you have it. Removing popcorn ceilings in Toronto can be a real game changer for your home. It’s not just about looks; it can make your space feel bigger and brighter. Sure, it might seem like a big task, but with the right tools and a bit of patience, you can tackle it yourself. Just remember to take your time, wear the right gear, and maybe even get a friend to help out. If DIY isn’t your thing, there are plenty of pros out there who can do it for you. Either way, saying goodbye to that dated texture is definitely worth it!
Frequently Asked Questions
What is a popcorn ceiling?
A popcorn ceiling is a textured ceiling that looks bumpy and is often white or off-white. It was popular in homes built from the 1950s to the 1980s.
Why should I remove my popcorn ceiling?
Many people choose to remove popcorn ceilings because they can look outdated and may collect dust and dirt. Removing them can make a room look more modern and clean.
Are there health risks with popcorn ceilings?
Yes, older popcorn ceilings may contain asbestos, which can be harmful if disturbed. It’s important to have it tested before removal.
What tools do I need for popcorn ceiling removal?
You will need a spray bottle, a putty knife, a ladder, a drop cloth, and possibly a mask and goggles for safety.
Can I remove popcorn ceiling myself?
Yes, you can do it yourself, but it can be messy and time-consuming. Make sure to follow safety precautions.
What should I do after removing the popcorn ceiling?
After removal, you may need to repair the ceiling, apply a new finish, or paint it to give it a fresh look.